Installation Tips and Troubleshooting for Rain Sensors in Irrigation
Rain sensors for irrigation systems are small devices that detect precipitation and pause automatic watering schedules to conserve water and prevent overwatering. As municipal ordinances and water-wise landscaping practices push irrigation managers and homeowners to adopt smarter controls, installing a reliable rain shutoff sensor has become a common upgrade for sprinkler controllers. While the idea is simple — don’t run sprinklers when it’s raining — the reality involves picking compatible hardware, mounting it correctly, wiring it into an irrigation controller or pump relay, and maintaining the sensor so it functions season after season. This article walks through practical installation tips and troubleshooting steps you can use whether you are installing an automatic rain sensor on a residential sprinkler system or retrofitting a commercial irrigation controller.
Choosing the Right Rain Sensor for Your System
Selecting the correct rain sensor starts with compatibility and functionality. Basic rain shutoff sensors (tipping bucket or hygroscopic discs) interrupt the irrigation controller’s circuit when they detect a set amount of precipitation, while more advanced solar- or wireless-enabled models can report status to smart controllers. Consider irrigation controller compatibility: many controllers have a dedicated sensor terminal that accepts a normally closed (NC) switch; wireless sensors typically pair with a receiver at the controller. Size of the catch, reset delay, and adjustable threshold for accumulation matter for performance and local climate. Also weigh installation complexity — wired sensors require running 2-conductor cable back to the controller, whereas wireless sensors avoid trenching but need battery or solar maintenance.
Mounting and Wiring: Best Practices to Avoid False Triggers
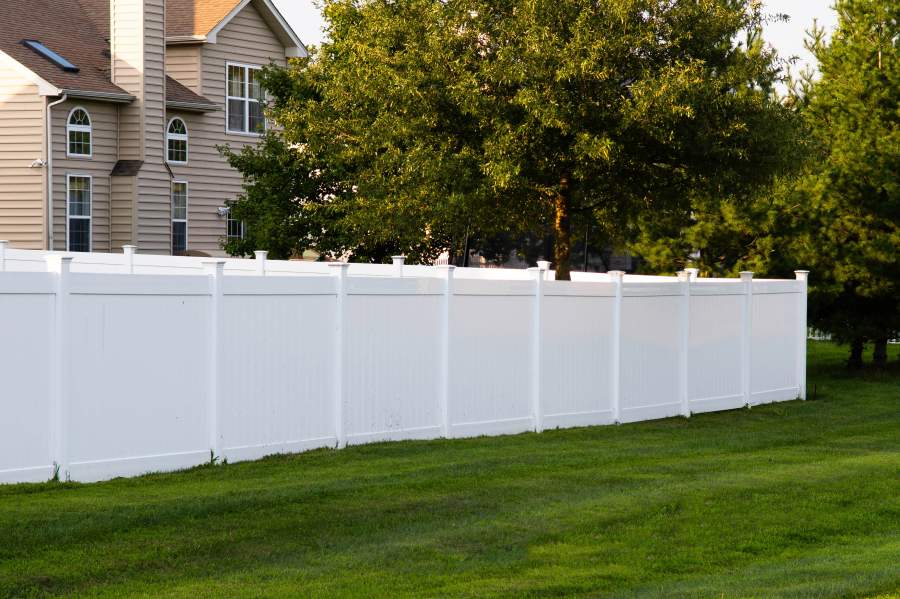
Where and how you mount the sensor affect reliability more than brand. Mount the rain sensor on a stable, level surface with an unobstructed view of the sky, away from sprinkler spray, roof runoff, or overhanging trees that drip. For residential installations, typical placements include the north side of a garage or on a post in the yard at 5–6 feet above grade; ensure it is not in the path of your sprinkler heads. Use corrosion-resistant hardware and silicone sealant to protect mounting holes. For wiring, use two-conductor irrigation cable, keep runs tidy, and terminate with waterproof connectors where exposed. If your controller lacks a sensor terminal you can wire the sensor in series with a pump start relay or master valve common — but follow manufacturer wiring diagrams to avoid damage.
| Sensor Type | Typical Mounting Location | Wiring Complexity | Best Use |
|---|---|---|---|
| Tipping bucket | Exposed, level post or wall | Low (2-conductor) | Budget-friendly residential systems |
| Hygroscopic disc | Protected wall or post | Low (2-conductor) | Adjustable shutdown thresholds |
| Solar wireless | Roof edge or post (unobstructed sun) | Very low (wireless receiver at controller) | Retrofits without trenching |
| Smart/weather station | Elevated pole with clear sky view | Medium to high (network integration) | Integrated landscape management |
Configuring Settings and Testing Rain Shutoff
After mounting and wiring, configure your controller so it recognizes the rain sensor. Many controllers have a sensor or remote input menu where you can enable or bypass the sensor; ensure it is enabled and not set to 'ignored' during programming. Test functionality by manually wetting a tipping bucket sensor or pressing the sensor’s test button if present — the controller should show a sensor-off status or refuse to start zones. For wireless types, confirm receiver pairing and check the signal strength between sensor and receiver. Calibrate accumulation thresholds and reset delays to suit your typical rainfall events and soil type: too-sensitive settings can skip needed irrigation after light showers, while too-high thresholds may not prevent excess watering.
Common Problems and Troubleshooting Steps
Typical issues include the sensor failing to shut off irrigation, false shutdowns, intermittent operation, and communication loss for wireless devices. If irrigation doesn’t stop when it rains, first verify wiring continuity and that the sensor terminals are connected to the proper controller inputs; check for a blown fuse or tripped pump relay. For false shutdowns, inspect for spray or drip contamination, clogged or crusted sensors, and nearby vegetation shedding water. Intermittent behavior often points to corroded connectors, rodent damage to cable runs, or low batteries in wireless sensors. Simple fixes include cleaning the sensor, re-routing sprinkler heads, replacing connectors with gel-filled waterproof crimps, and confirming controller firmware is up to date. When in doubt, consult the controller and sensor manuals for manufacturer-specific diagnostics.
Keeping Your Rain Sensor Reliable Over Time
Regular maintenance prevents many common failures: clean exposed sensors seasonally to remove dust, pollen, and mineral deposits; verify mounting hardware and reseal any drilled holes; and check wiring insulation and connectors for wear. For wireless or solar models, inspect batteries and solar panels annually, and replace batteries before capacity drops. Document sensor settings so you can restore them after power outages or service visits, and log any changes to thresholds for future reference. Finally, check local building or water-use codes: several jurisdictions require rain sensors on new irrigation installations, and ensuring compliance can avoid fines and promote community water conservation. With careful selection, proper mounting, and routine checks, a rain sensor becomes a reliable, low-maintenance safeguard that both conserves water and protects landscapes.
This text was generated using a large language model, and select text has been reviewed and moderated for purposes such as readability.
MORE FROM answerlegend.com